Everyone loves clean tile, whether it’s the kitchen backsplash, bathroom floor, or shower wall. But dirt and grime build up…

You’ve started on your lists of small repairs, you’ve contacted a real estate agent, and now you’re in the final…
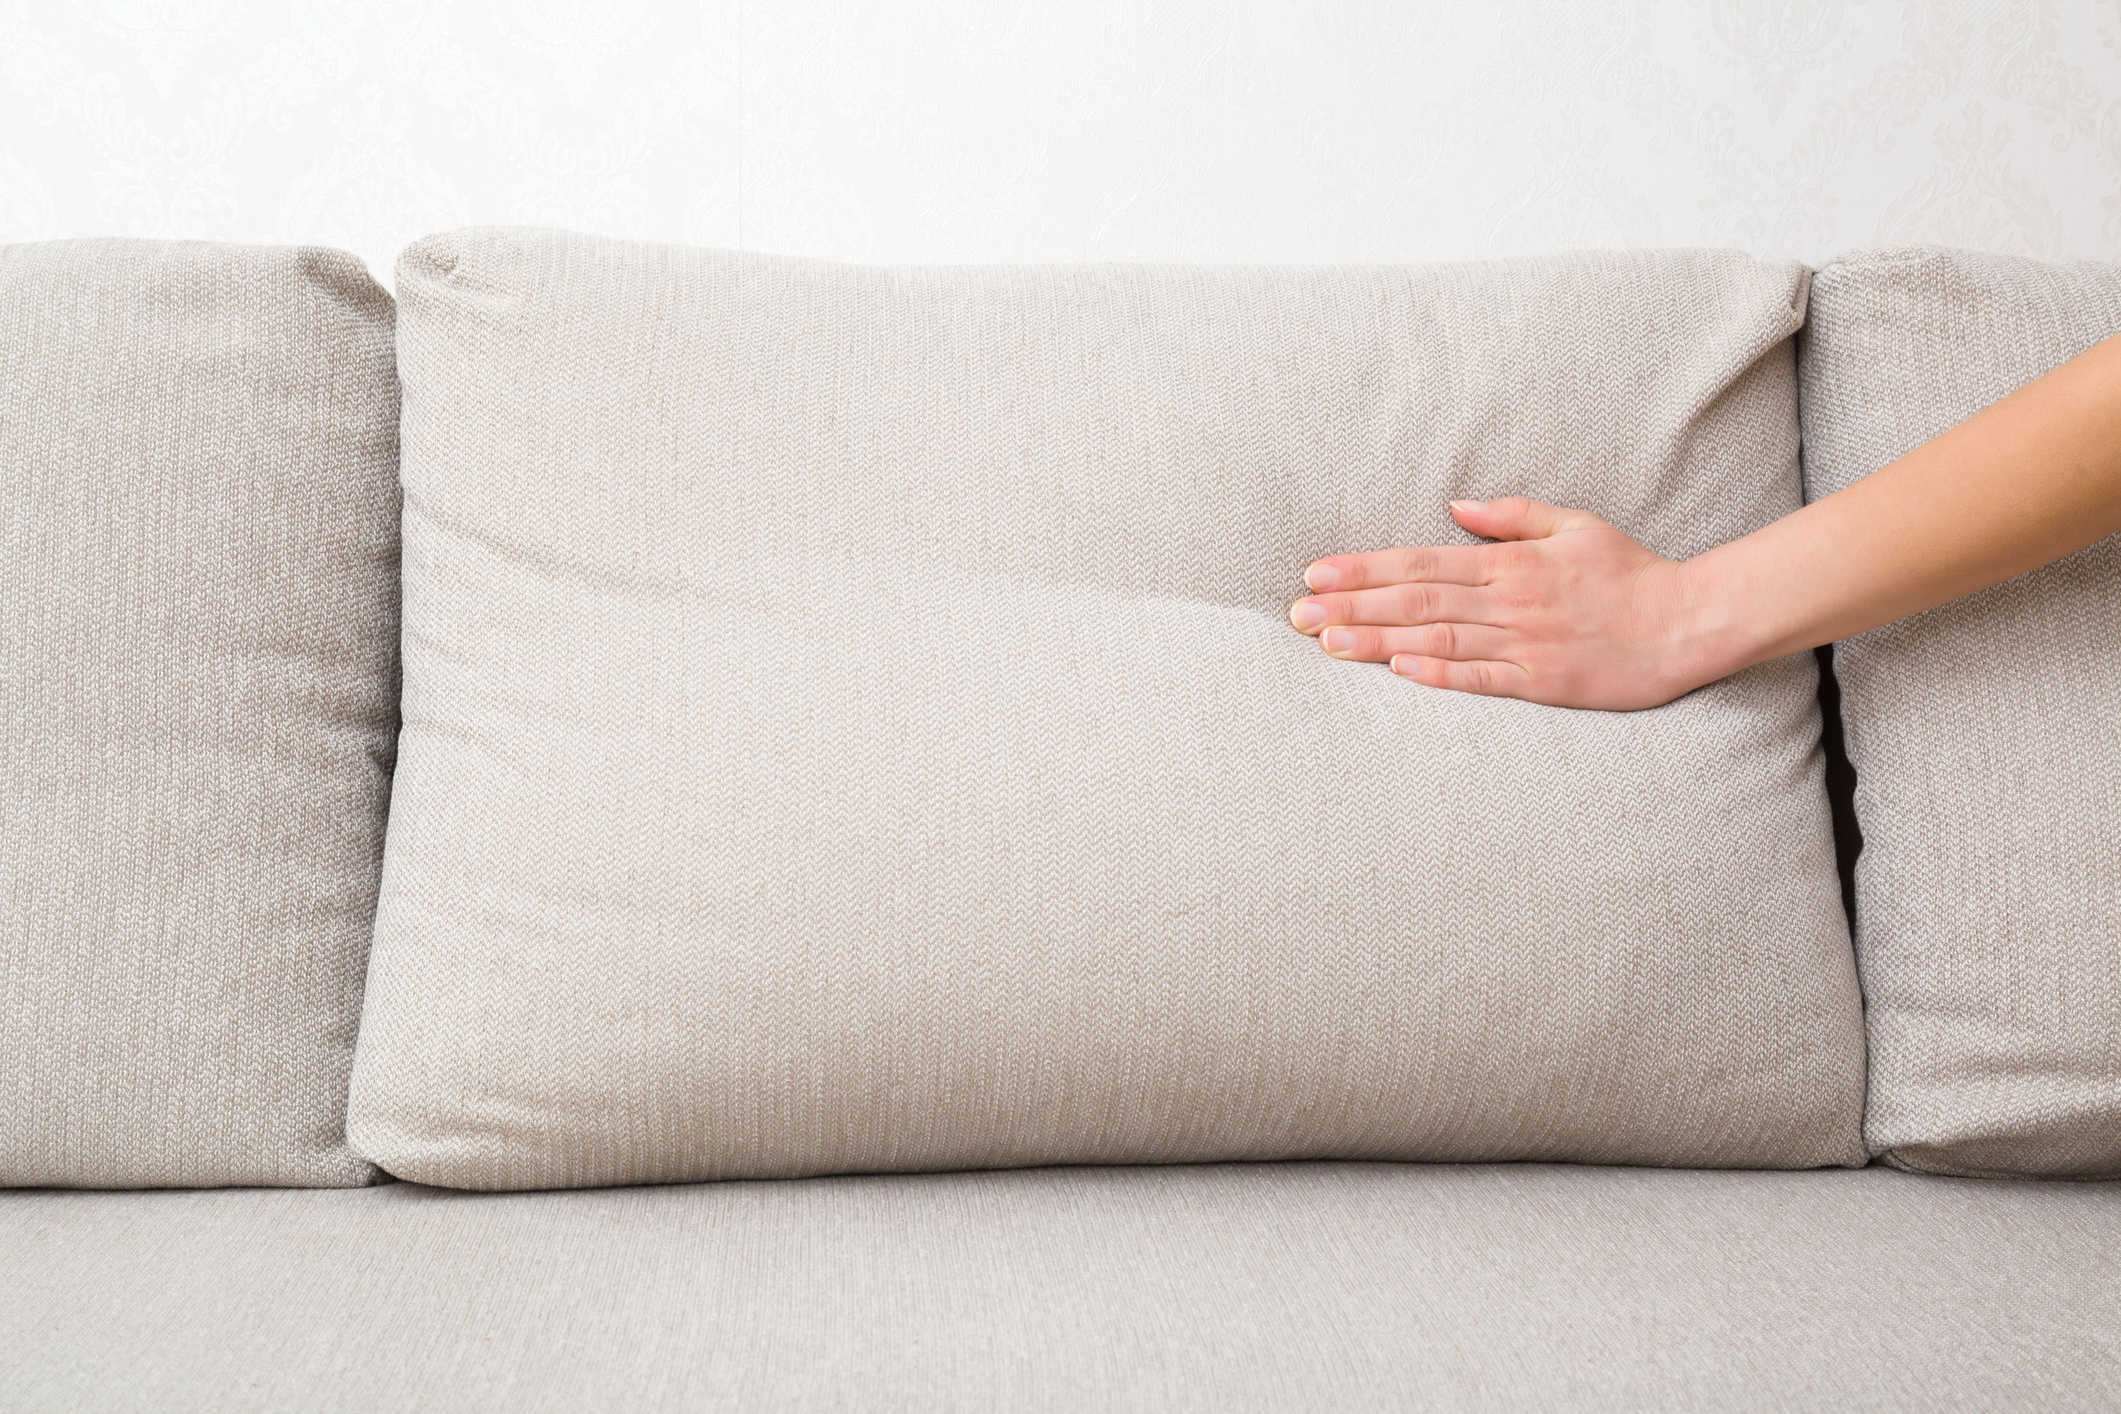
Maintaining your upholstery after it is cleaned is a simple, quick project that keeps your furniture looking great. At A…
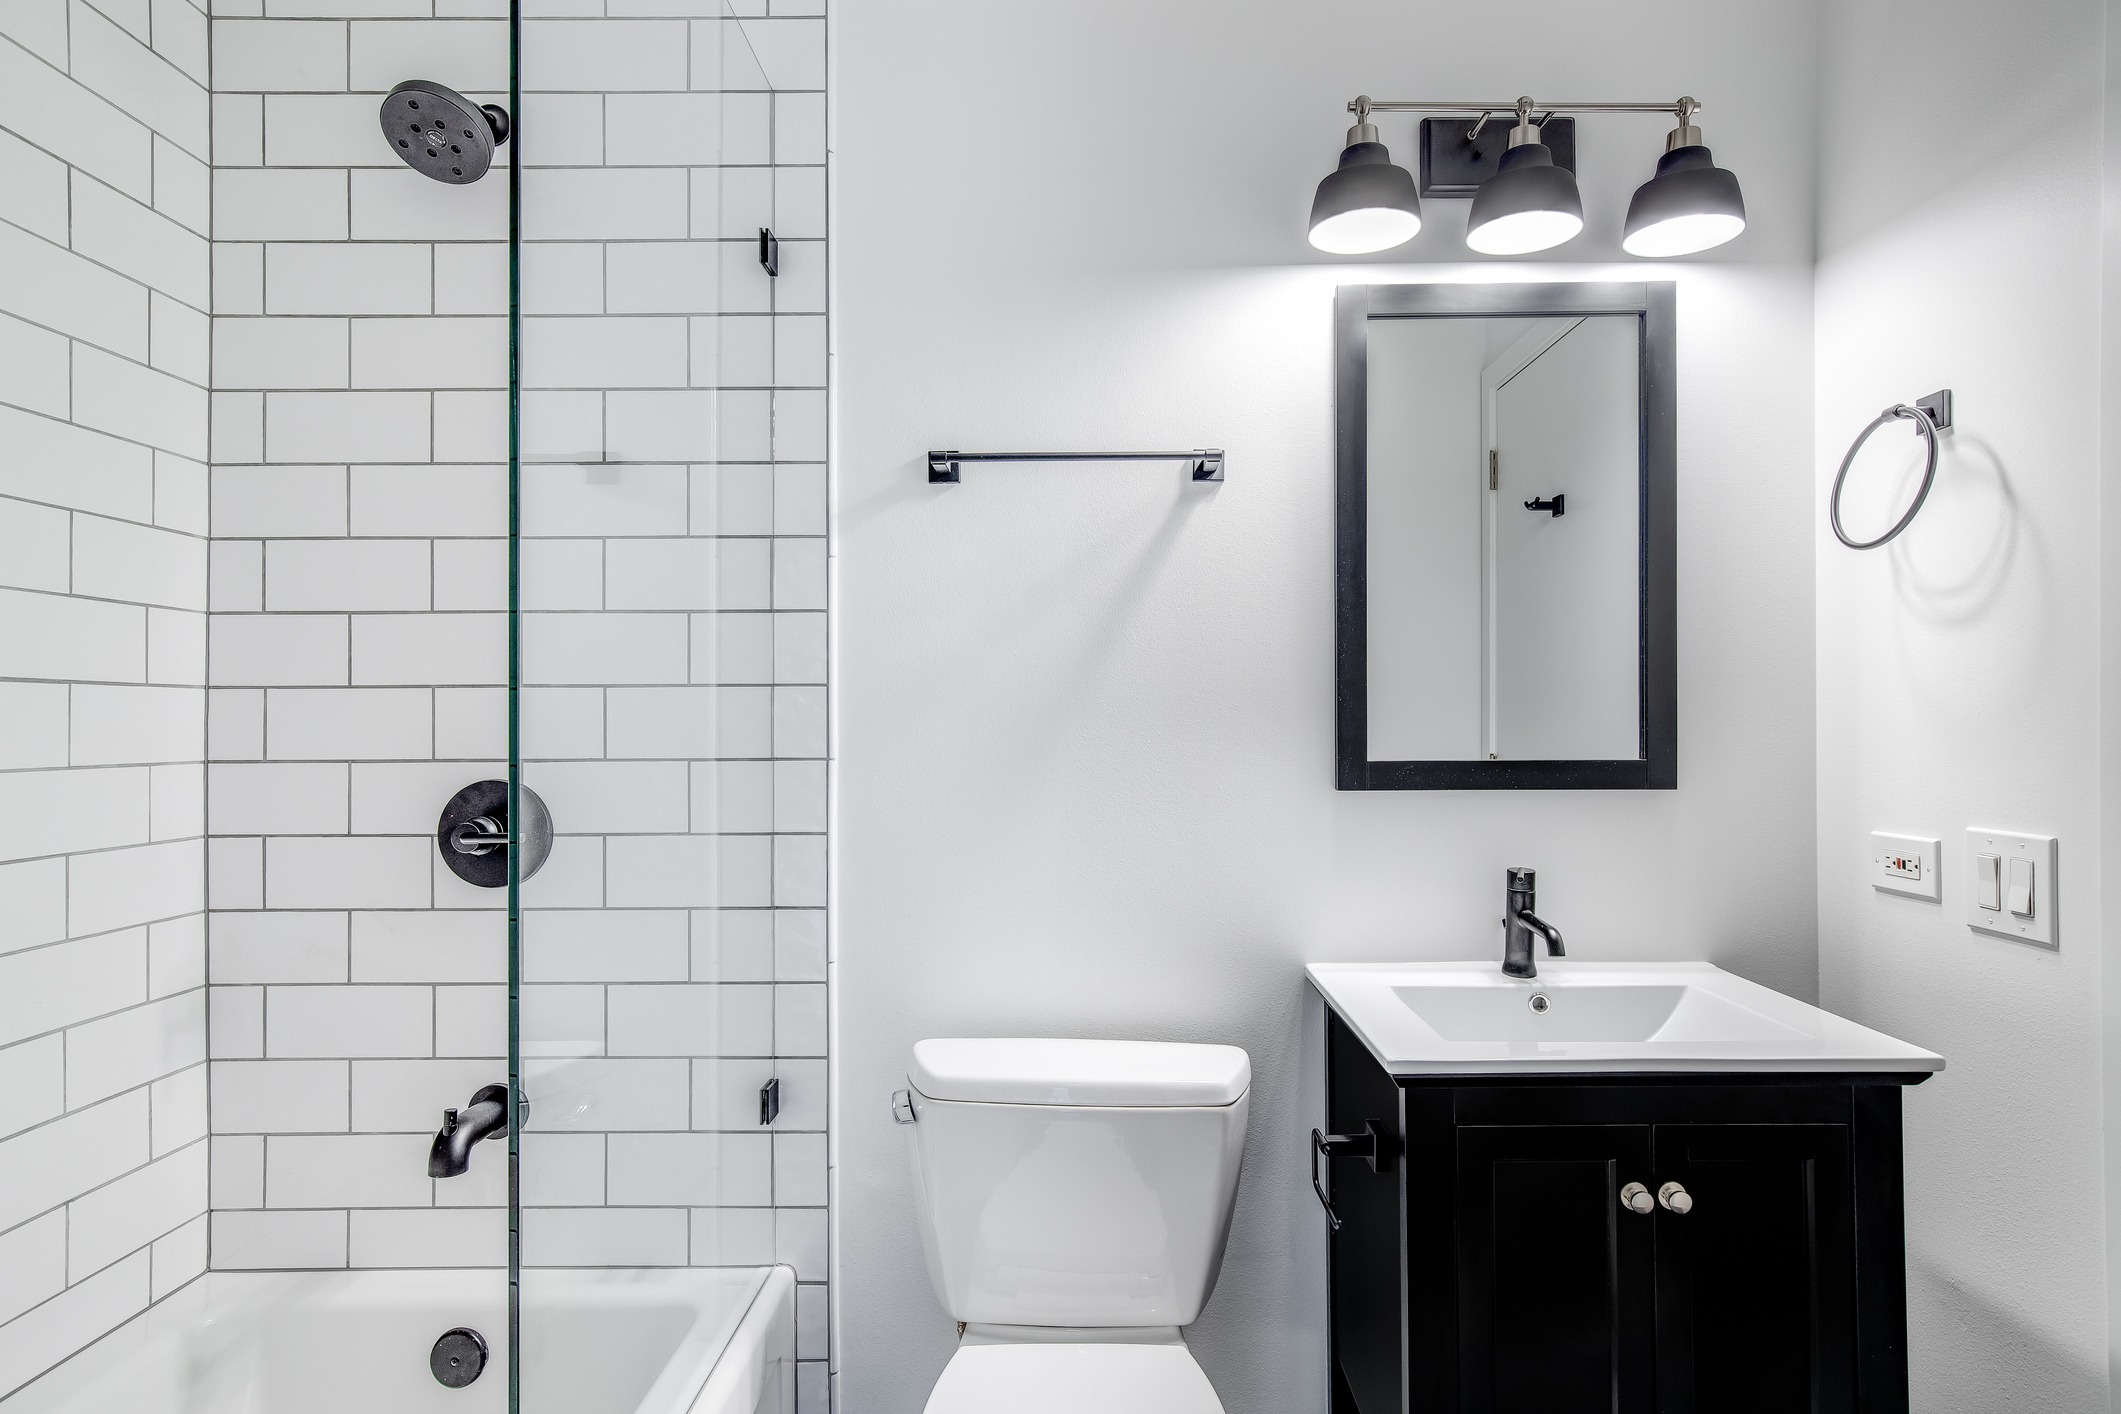
Is your bathroom or kitchen a science experiment? When you take a bath or shower can you see blooms of…

Upholstered furniture adds a lot to the look of any home by making it cozy, warm and welcoming. However, it’s…

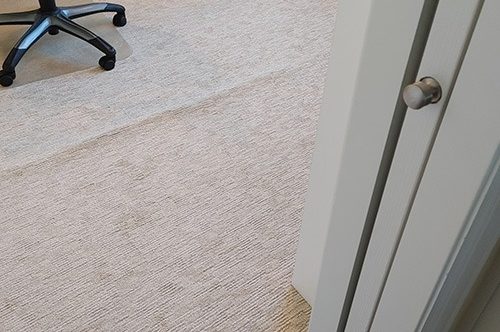
Carpets are an essential part of any home decor, providing warmth, comfort, and beauty to any room. However, carpets can…

Carpet stains can be frustrating and unsightly, especially if they are not promptly addressed. Different types of carpet stains require…
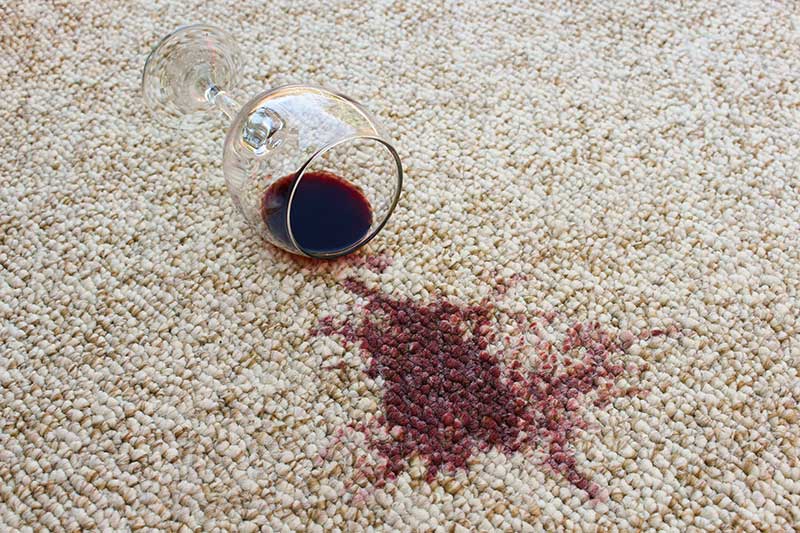
Carpet stains can be frustrating and unsightly, especially if they are not promptly addressed. Different types of carpet stains require…

Carpets play a vital role in enhancing the comfort and aesthetic appeal of our homes. However, they are also prone…
Discover the Dangers of Carpet Ripples and Why Professional Repair is Essential When it comes to home decor and comfort,…